-
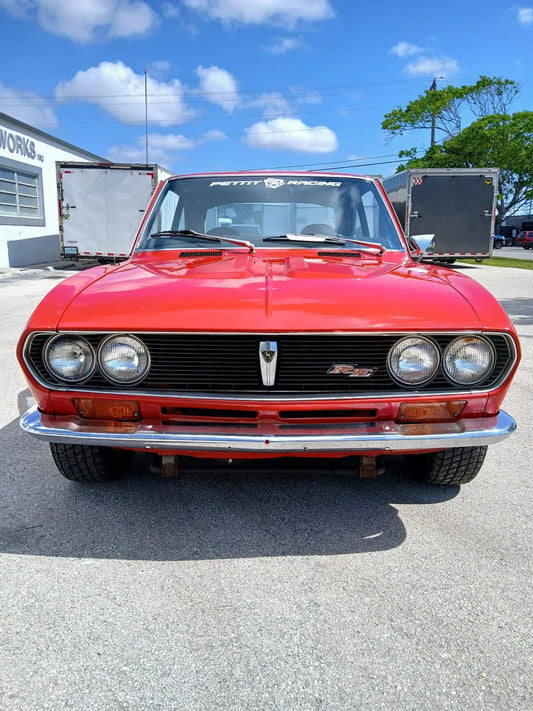
1972 Mazda RX-2 12A RWD MT Red Sports Coupe 50k Miles (SOLD)
Regular price $32,500.00 USDRegular price -
1979 Turbocharged RX-7 (14k original miles) (SOLD)
Regular price $101.00 USDRegular price -
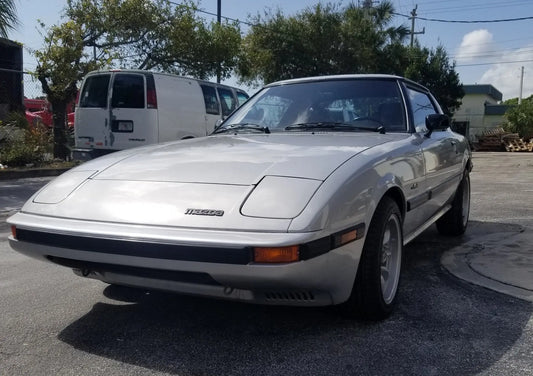
1985 Mazda RX-7 FB GS 46,000 original miles (SOLD)
Regular price $101.00 USDRegular price$0.00 USDSale price $101.00 USDSold out -
 Sold out
1991 Cosmo 20B (SOLD)
Regular price $101.00 USDRegular price -
 Sold out
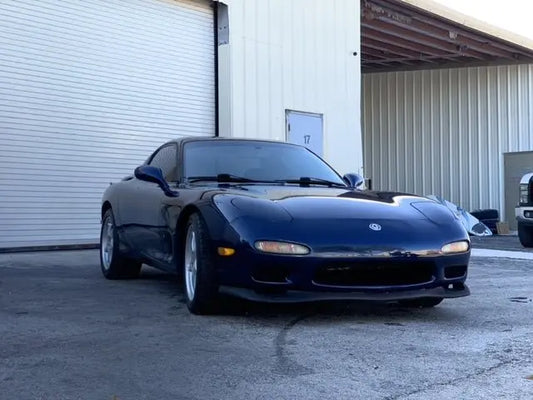
1993 Mazda FD RX-7 (SOLD)
Regular price $38,000.00 USDRegular price -
 Sold out
1993 RX-7 (SOLD)
Regular price $101.00 USDRegular price -
 Sold out
1993 RX-7 TOURING 28K MILES (SOLD)
Regular price $101.00 USDRegular price -
1994 Mazda RX-7 Touring Edition (SOLD)
Regular price $39,500.00 USDRegular price -
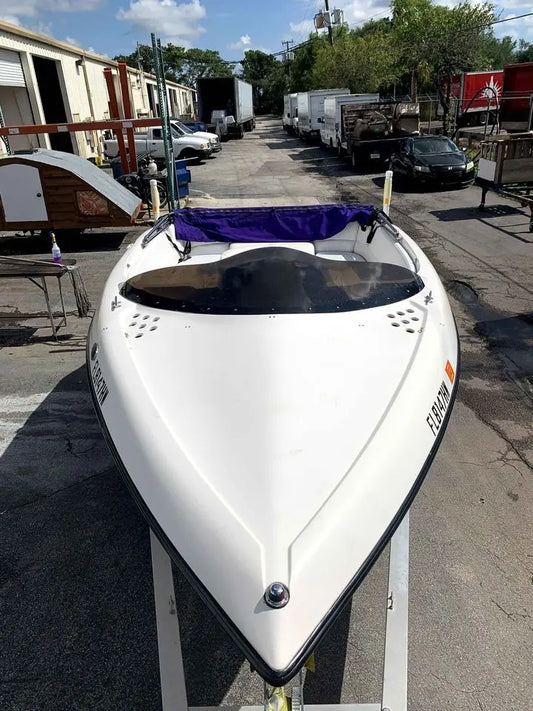
1996 Ebbtide Marine Rotary Powered Speedboat
Regular price $65,555.00 USDRegular price -
1999 Front Bumper Lights for Mazda RX-7 FD 1992-2002
Regular price $199.00 USDRegular price -
 Sold out
2006 RX-8 Shinka (SOLD)
Regular price $9,900.00 USDRegular price -
AST Pressure Cap 13 / 16 PSI for Mazda RX-7 FD 1992-2002, RX-8 2003-2012
Regular price $19.97 USDRegular price -
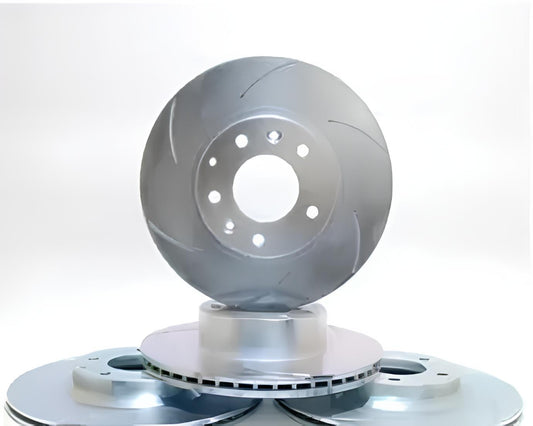
Brake Rotors Curved Slot Full Set for Mazda RX-7 FD 1992-2002
Regular price $399.00 USDRegular price -
Brake Rotors Curved Slotted Full Set for Mazda RX-8 2003-2012
Regular price $439.00 USDRegular price -
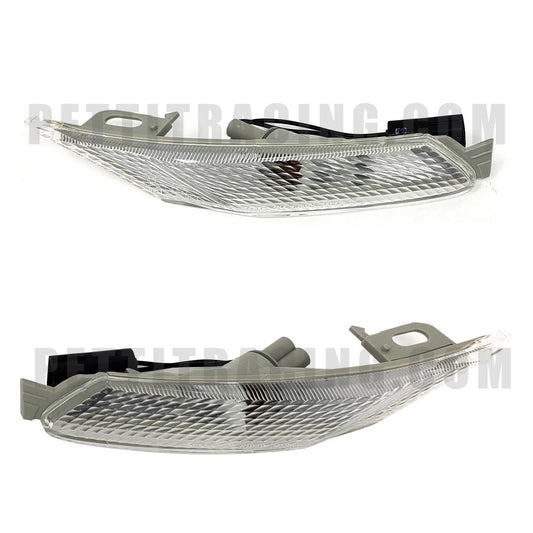
Clear Corner Lights for Mazda RX-8 2003-2012
Regular price $99.97 USDRegular price -
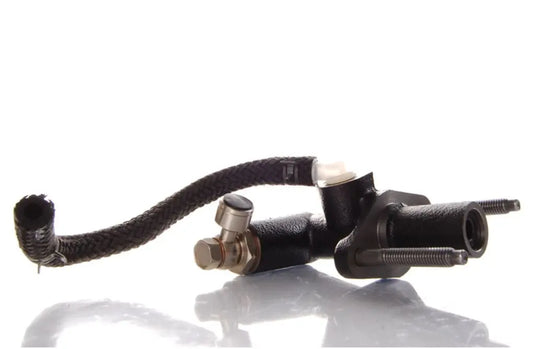
Clutch Master Cylinder for Mazda RX-7 FD 1992-2002
Regular price $169.00 USDRegular price$0.00 USDSale price $169.00 USD